Rendering Suet and Making Pemmican
Pictures from my second time rendering suet in August 2001 (and four pictures from September 2002). This was the first time I took pictures of this part of the process. To see the jerky part of the process go to the other pemmican album. To see the suet steps in detail, go to Suet Rendering.
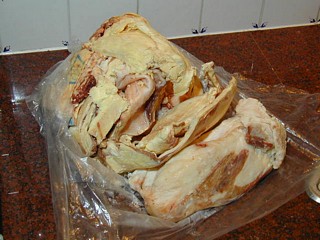
1: The bison suet ready for me to process. This I bought from
Northstar Bison. An alternative is to buy
Beef Suet or
Beef Tallow from US Wellness Meats. [I now buy grass-finished beef suet at my food coop for $0.50/lb.]
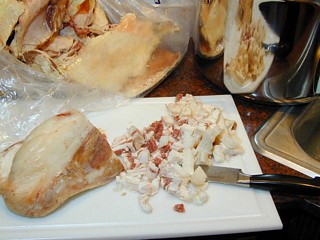
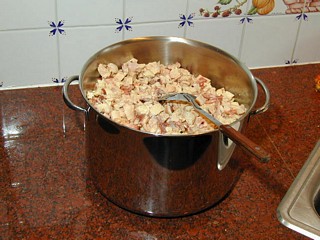
2: To speed up the rendering I diced the suet this time. More work, but I feel it was worth it.
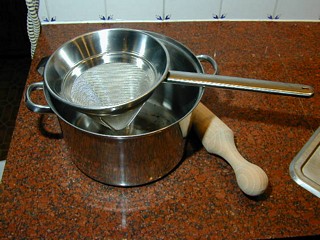
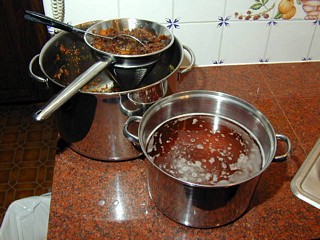
3: The diced suet ready for the rendering. That's a
16 qt pot.
4: People suggest adding a little water to get started, so it doesn't stick. I added a gallon. A big mistake! I had to simmer all that water out.
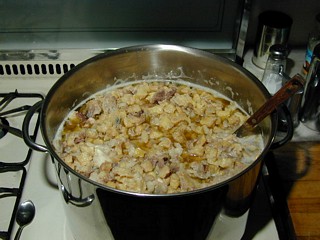
5: It is working its way down. It there are bubbles, they are steam bubbles, and for all the moisture to be out they should stop.
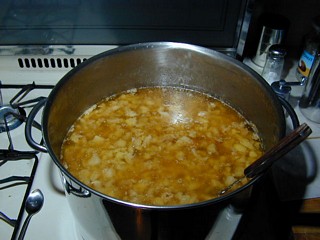
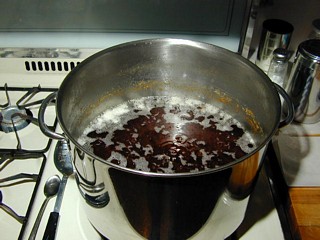
6: I ended up simmering it for 30 hours! That covered two nights, plus daytime. When simmering at night I did periodically get up and stir. But it did stick to the bottom, and it may have a slight burned smell. Actually I gave up when it was still have steam bubbles come up. I got impatient. Figured if I kept it in the refrigerator I'd be okay.
8: The crud filled the chinois. Turned out the pestle was of no use.

9: Here's the pot filled with the rendered suet.
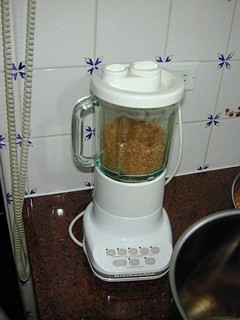
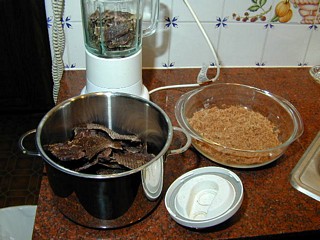
10: I decided to break up the jerky into one inch pieces with my hands. It blended much better this way. That's my
KitchenAid 5-Speed Blender.
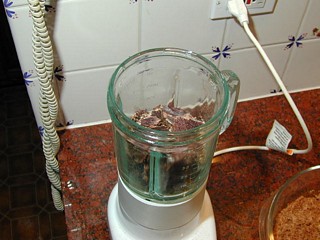
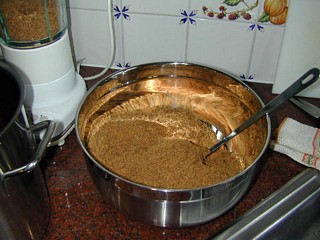
11: Midway in my jerky grinding task. I dried 11.5 lbs of bison.
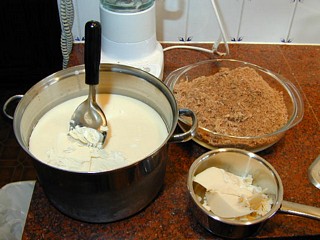
12: The pot of suet is very hard. Even with the
ice cream spade it was hard to dig out. I ended up filling the quart pan almost to the top. It was barely enough for this much ground jerky.
13: I put some in the glass Pyrex dish, which I was able to press down with the ice cream spade. Then many people recommend using muffin tins. So I tried that. I used my finger to press it down.
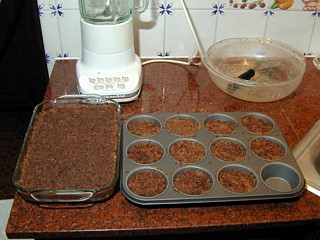
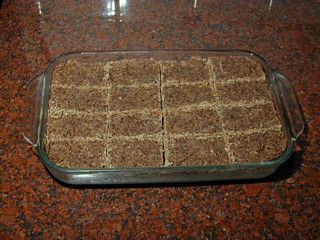
14: After it hardened I had to cut these into chunks. It was hard to do. I had to cut through hard bits of meat. I can see why people prefer the muffin tins. Looks like that will be what I use in the future. [And I have used muffin tins ever since.]
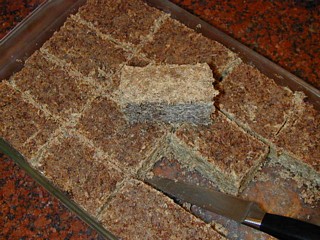
15: A closeup of the finished pemmican.
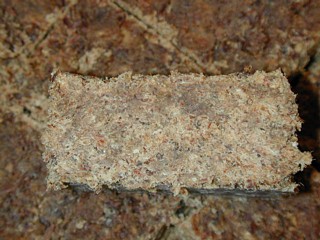
16: A closer closeup. This is not as dense as my last batch, where I put in a bit too much suet.
17: This, and the following pictures, were taken in September 2002 to update the picture album. The 3-qt Pyrex casserole I was using wasn't big enough. The ground up jerky is now in a large stainless steel bowl.
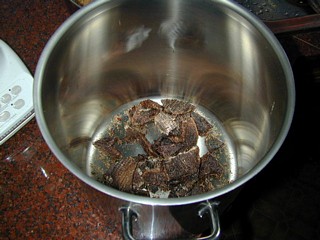
19: Only a few pieces of jerky left not yet ground.
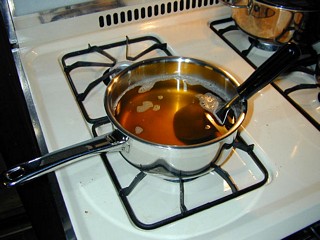
20: The suet is warming up on the range top.
© Don Wiss 2001-2026. All rights reserved.